
The best iPhones are packed full of cool camera features, but for whatever reason, Apple has chosen to hide many of them, either deep in menus or through shortcuts you might never know existed.
So, even if you’ve been an iPhone owner for a long time, there’s a good chance that you’re missing out on some great camera features, which could help you take new types of photos, better quality photos, or just snap photos faster.
Below, then, we’ve highlighted five of the coolest iPhone camera features you need to know about, so you can get more out of Apple’s supremely powerful photographic hardware.
1. Capture action with burst mode
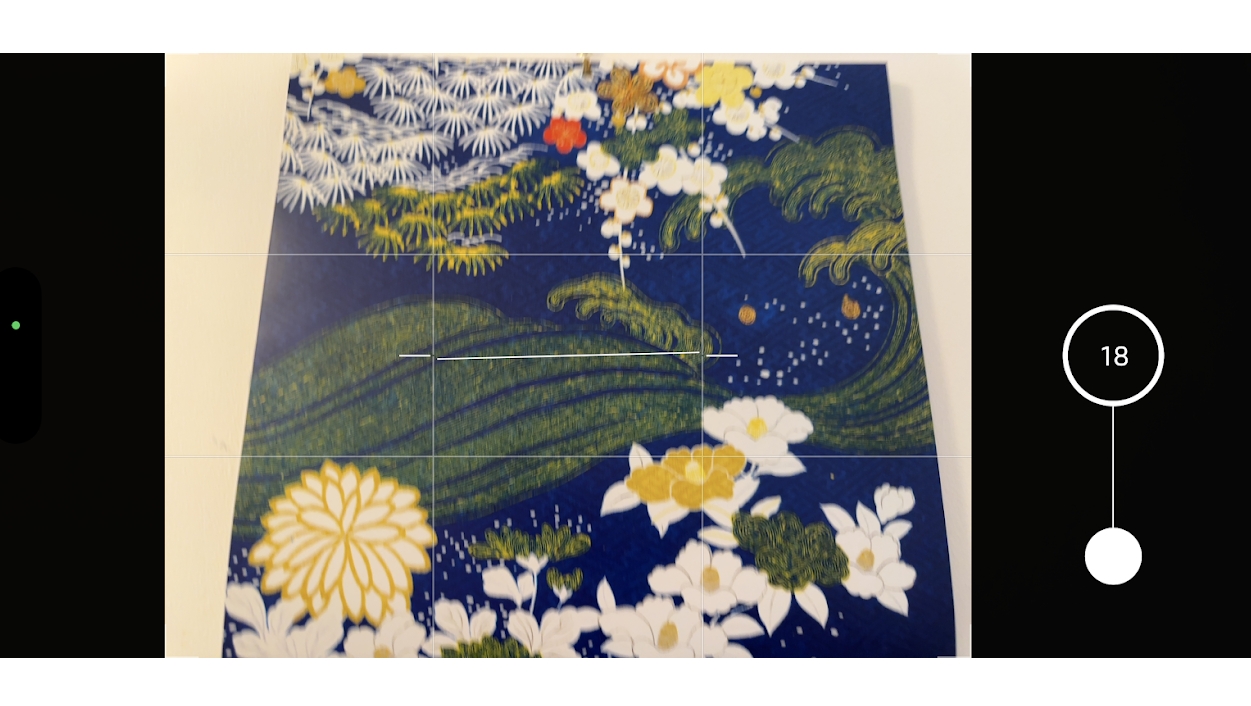

If you’re trying to photograph fast movement, or simply want a selection of shots to choose from, then burst mode is your friend.
But how do you activate this handy feature? Rather than it being a toggle on the viewfinder, you simply hold the shutter button and slide it to the left (or if you’re using an iPhone 11 or earlier, then simply hold the shutter button – no sliding required). Doing this will cause your iPhone to capture a stream of images until you release the button.
Just make sure that, if you’re regularly using burst mode, you delete any photos you don’t want, else the feature will eat up a lot of storage.
2. Launch the camera with a swipe
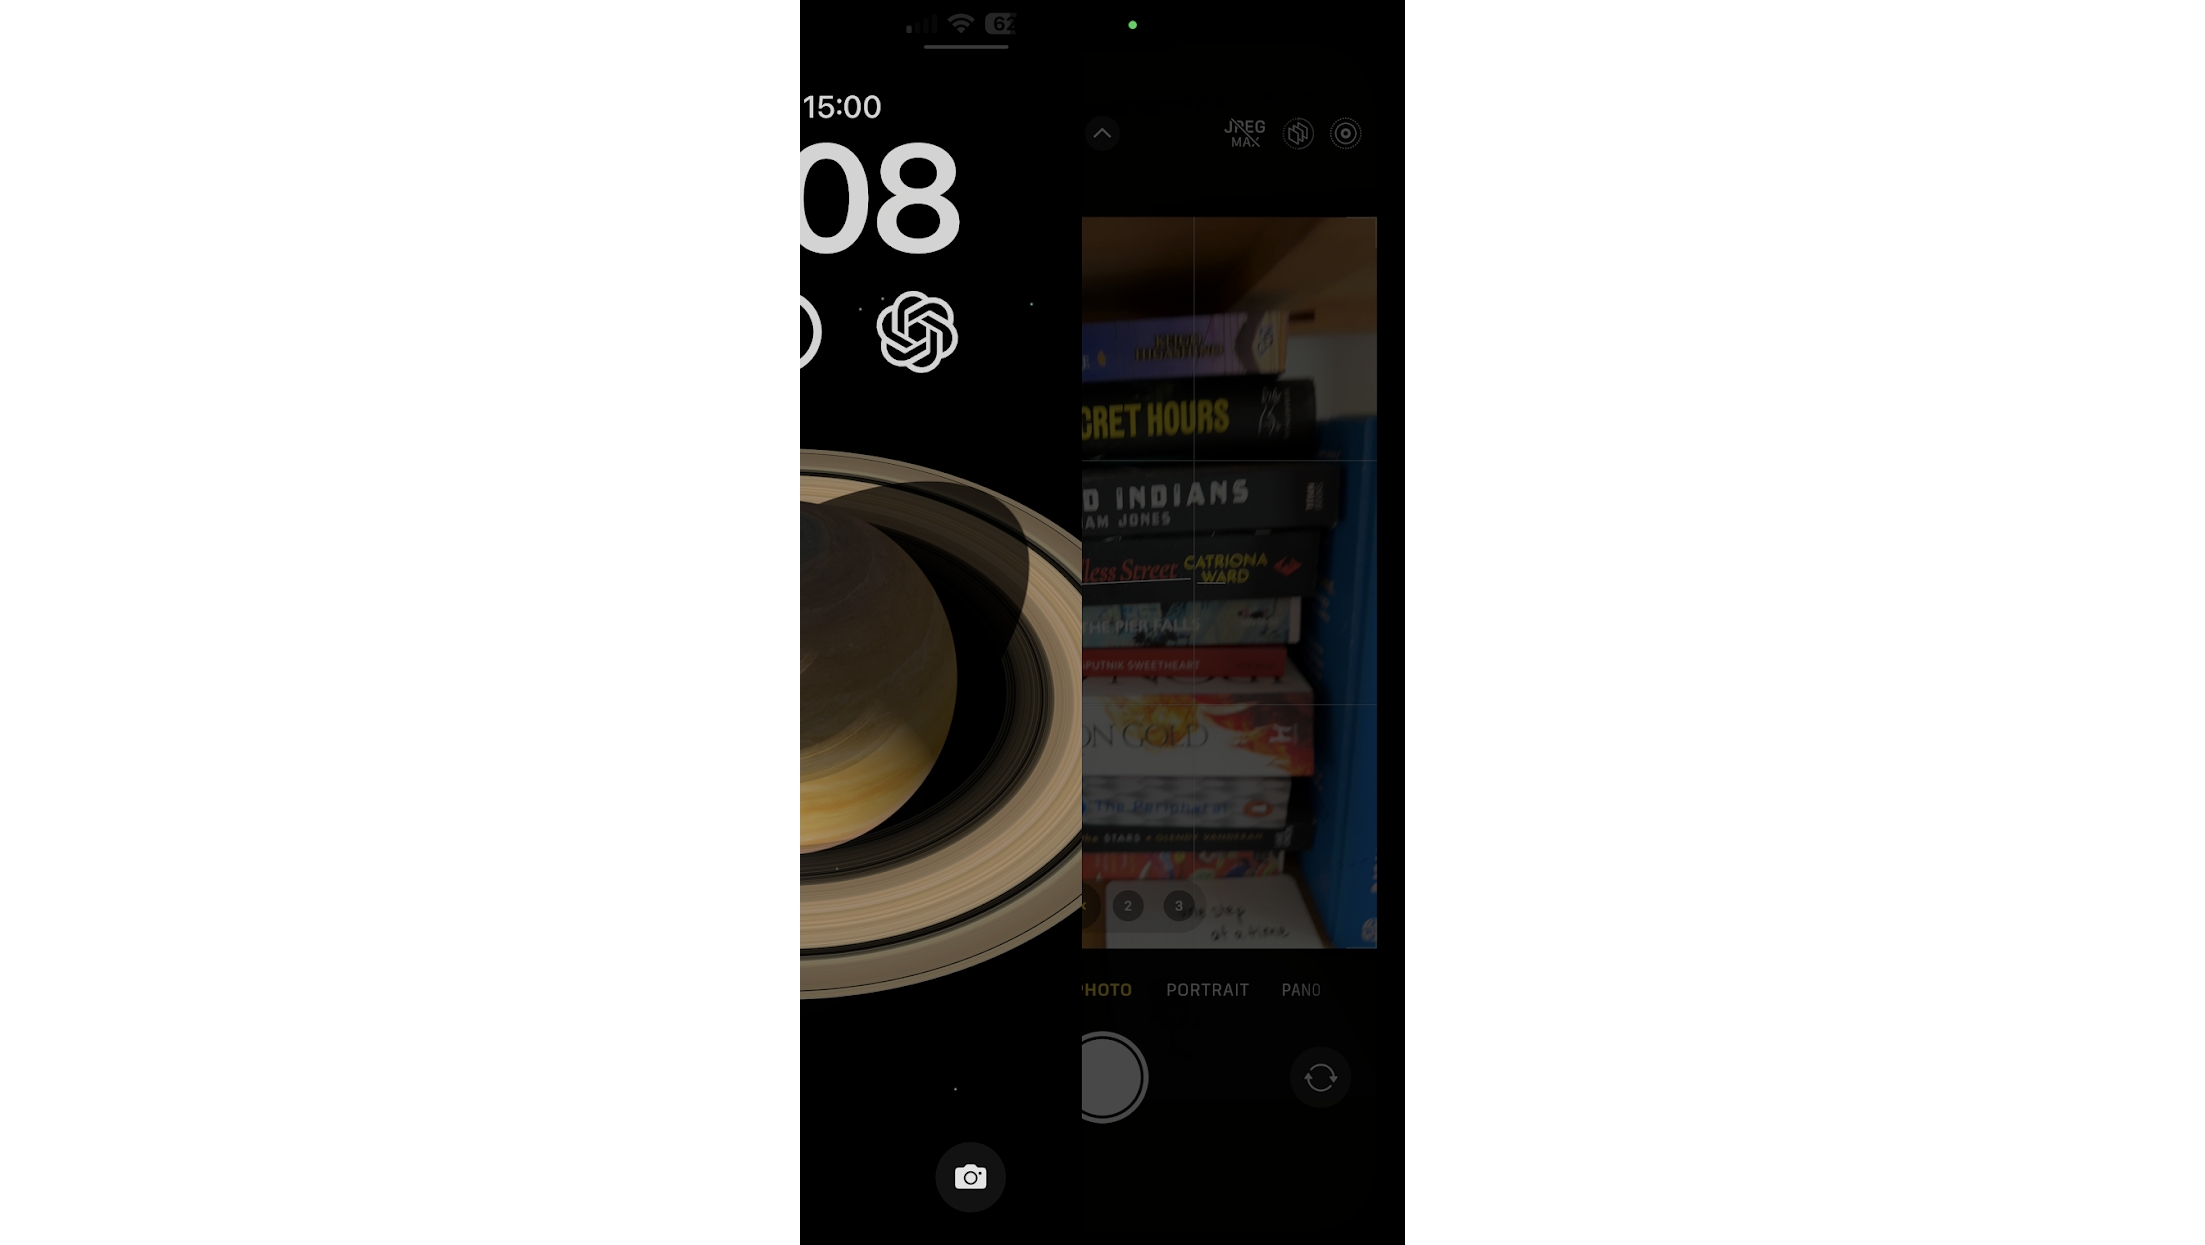

The perfect moment won’t always wait around for you to capture it, so it’s important to be able to fire up your iPhone’s camera quickly. There are a few ways to do this, but one of the simplest is just to wake up your phone and then swipe from the right edge across to the left. This action will open the camera app, ready for you to start shooting.
You can of course also press and hold the camera icon in the bottom right corner of the lock screen, but we’d argue that this method is slightly slower. Alternatively, if you have an iPhone 15 Pro or iPhone 15 Pro Max, you can set the Action button to launch the camera, but since swiping is so easy, you might as well set the Action button to something else.
3. Make long exposures
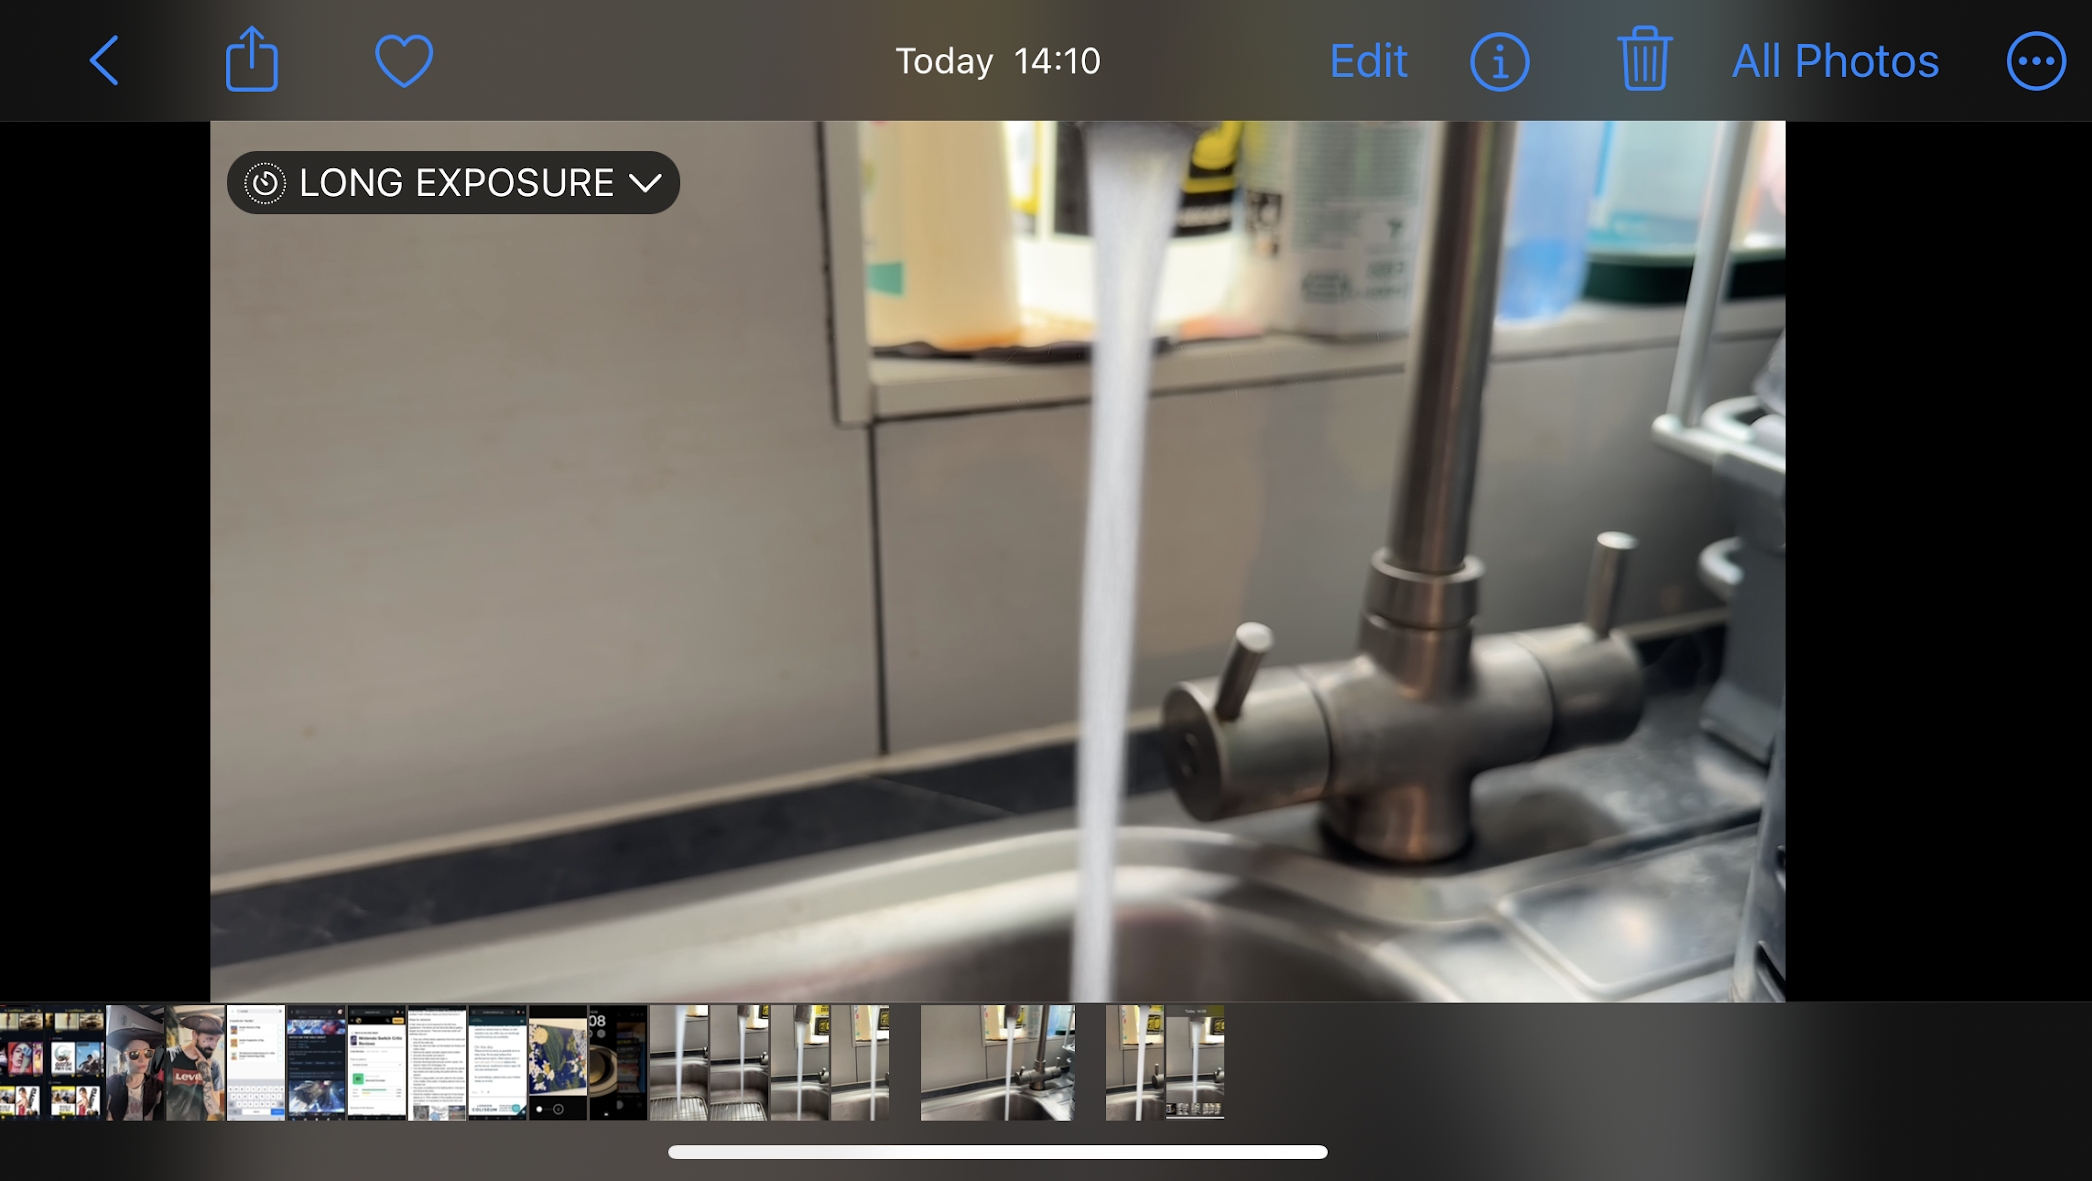

Long exposures are among the coolest and most striking types of photos you can take, and these are achievable on an iPhone.
To shoot a long exposure, first turn on the ‘Live Photo’ feature on the camera by tapping the circles in the top right corner of the screen (or the bottom right corner if you’re using the camera in landscape orientation).
Then snap a photo, open it, and tap the ‘Live’ dropdown in the top left corner. From there, select ‘Long Exposure’.
This feature is great when shooting moving water or moving car headlights, as it results in a striking motion blur effect.
4. Use the volume keys as shutter buttons
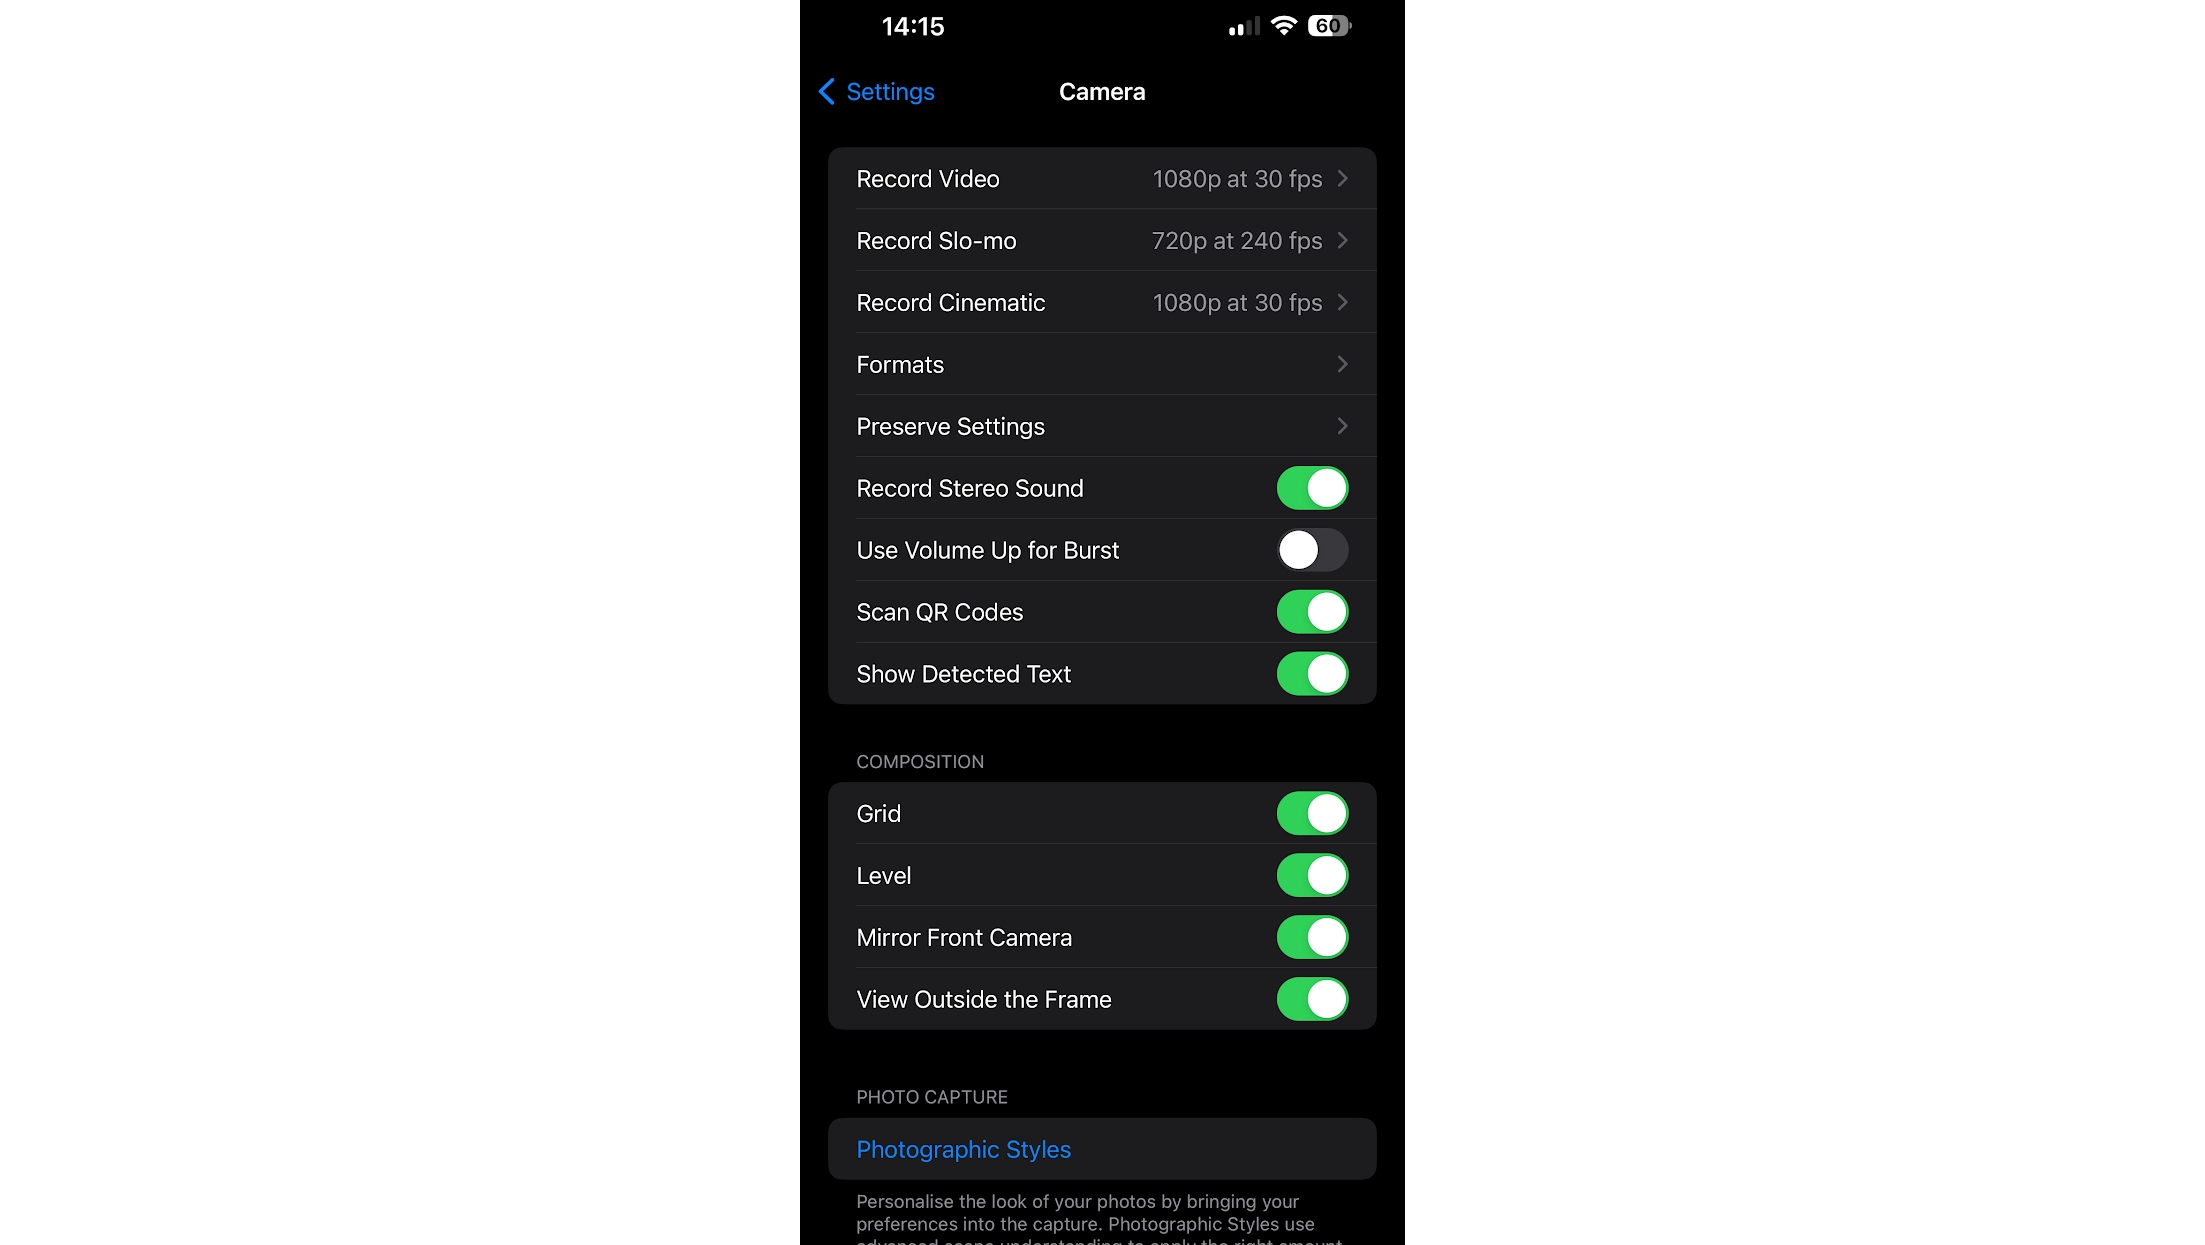
Tapping the shutter button on your phone’s screen isn’t always ideal. Doing so can nudge the camera, and depending on the position you’re holding your phone in, it can also be a bit awkward to hit. The good news is, you don’t have to. Instead, just tap either of the volume keys when the viewfinder is open, and that will take a photo instead.
Want to shoot a video? Just hold a volume button down, and your iPhone will record until you release the button.
Or, if you want to take a burst of photos, you can head to Settings > Camera, toggle the ‘Use Volume Up for Burst’ option on, and then, if you hold that button down, it will keep taking photos until you release it.
5. Customize the Photographic Styles
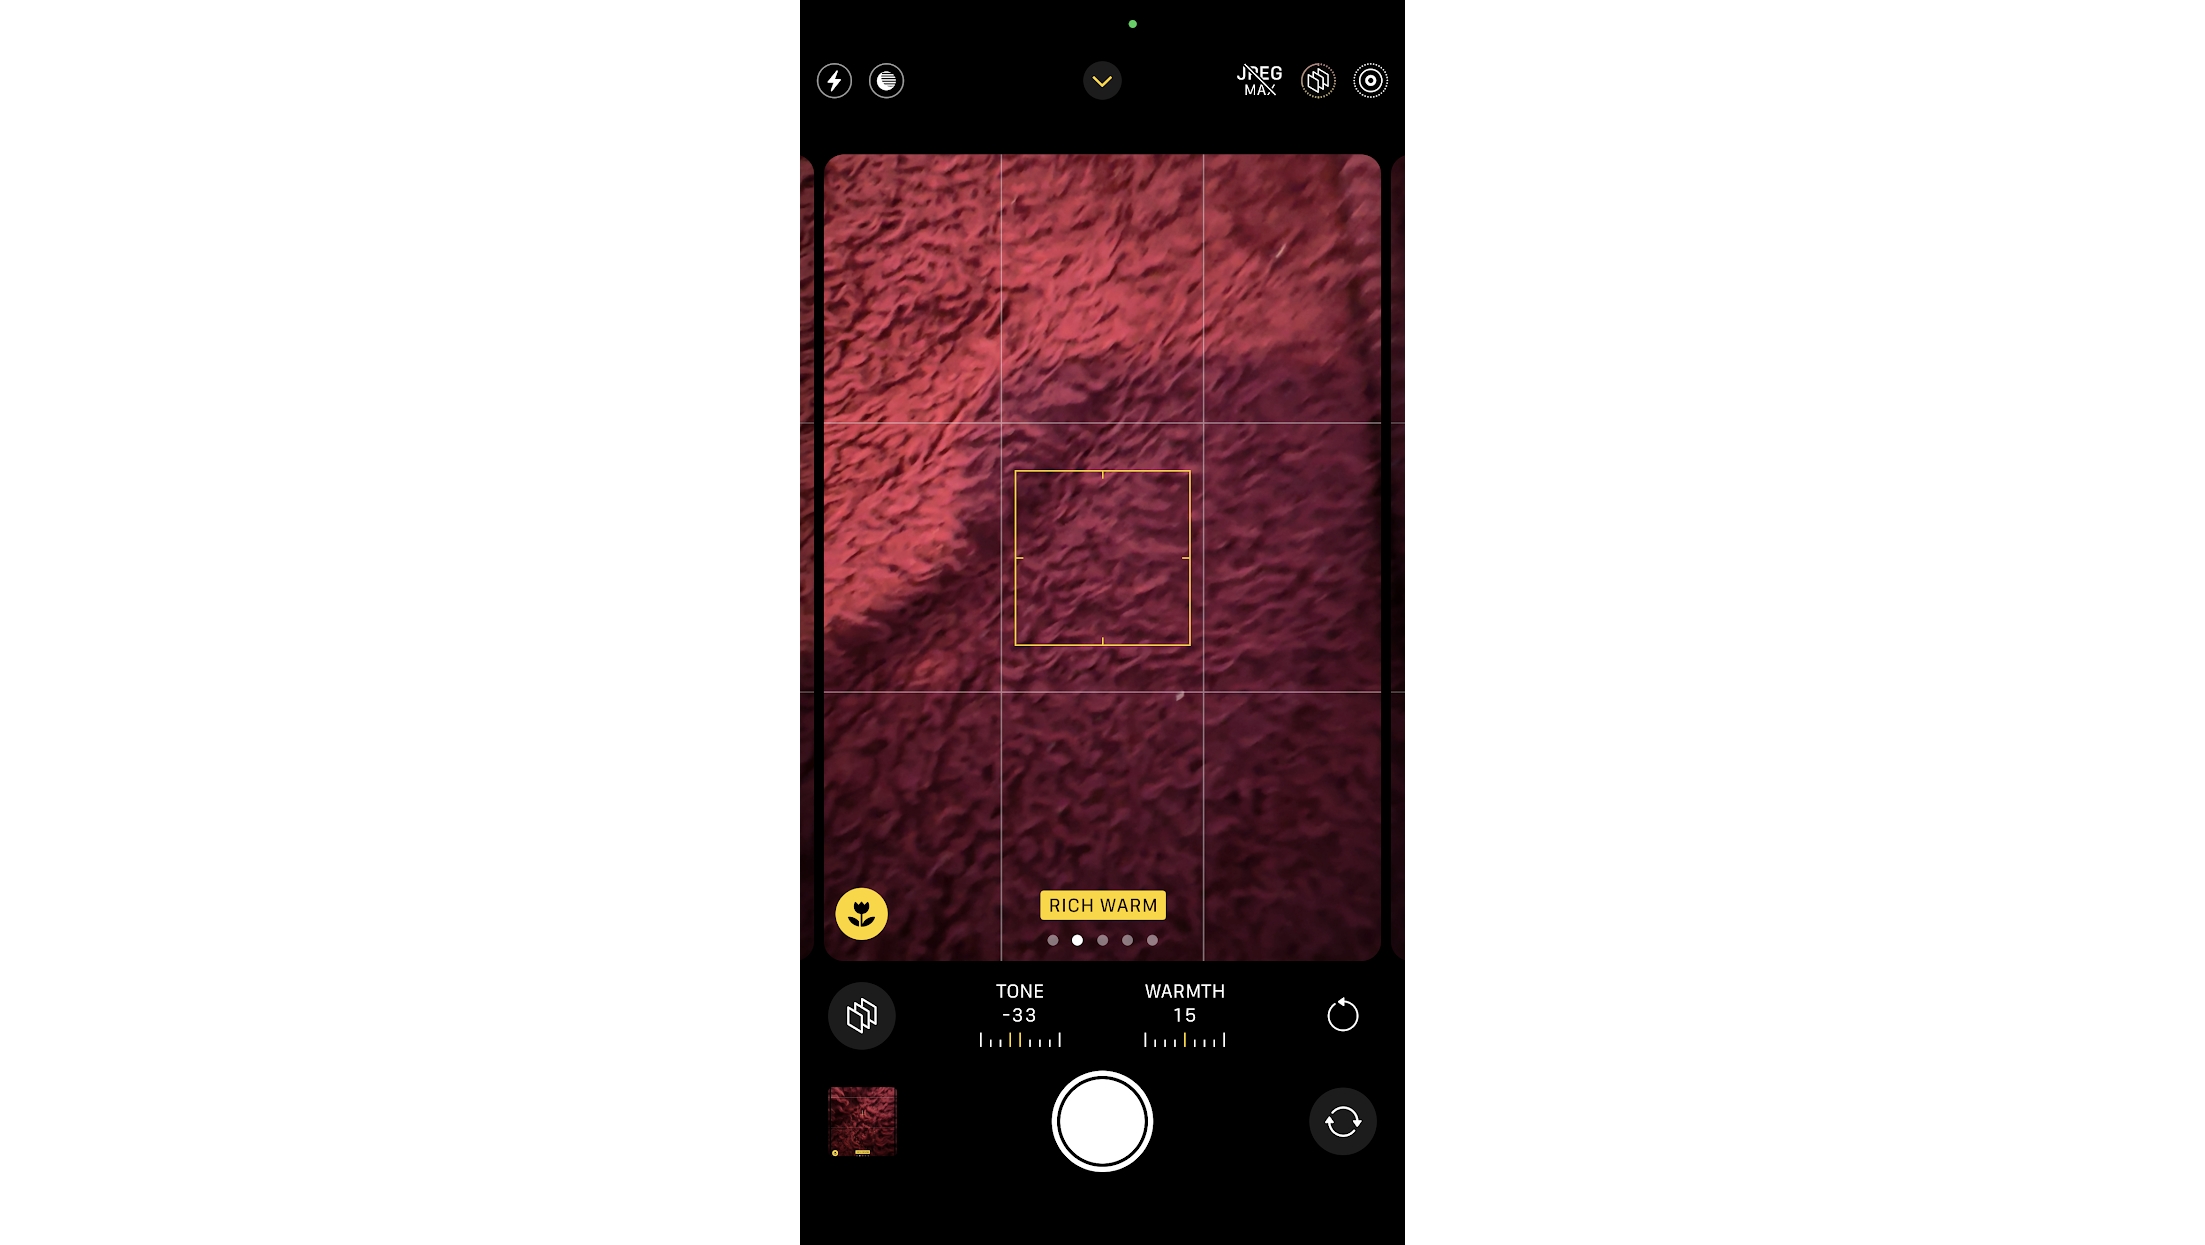
Photographic Styles are one of the most useful iPhone camera features – these let you select from several presets such as ‘Vibrant’, ‘Warm’, or ‘Cool’, which change the tone and warmth of your images. However, what you might not have realized is that you can also customize these presets to your liking.
Select one as a starting point, then simply tap on the ‘Tone’ or ‘Warmth’ heading and adjust the slider to your liking. Any changes you make will be saved (and will also change the name of the preset to better match how any images shot using that Style will then look), but there’s an option to revert to the original preset too.